Command line and REPL
You might be wondering why we're covering CLI and REPL instead of jumping straight into building features. Here's why: throughout this tutorial, you'll constantly use Ace commands to generate controllers, models, and other files. Getting familiar with the CLI now prevents us from interrupting the flow later.
More importantly, the REPL will become our playground for experimenting with models and databases. When we explore database queries, filters, and relationships in later sections, we'll use the REPL to try things out. It's a throwaway environment that lets us focus on learning concepts without the ceremony of building complete features.
Exploring available commands
Let's start by seeing what commands AdonisJS gives us. Run this in your terminal.
node ace listYou should see something like this:
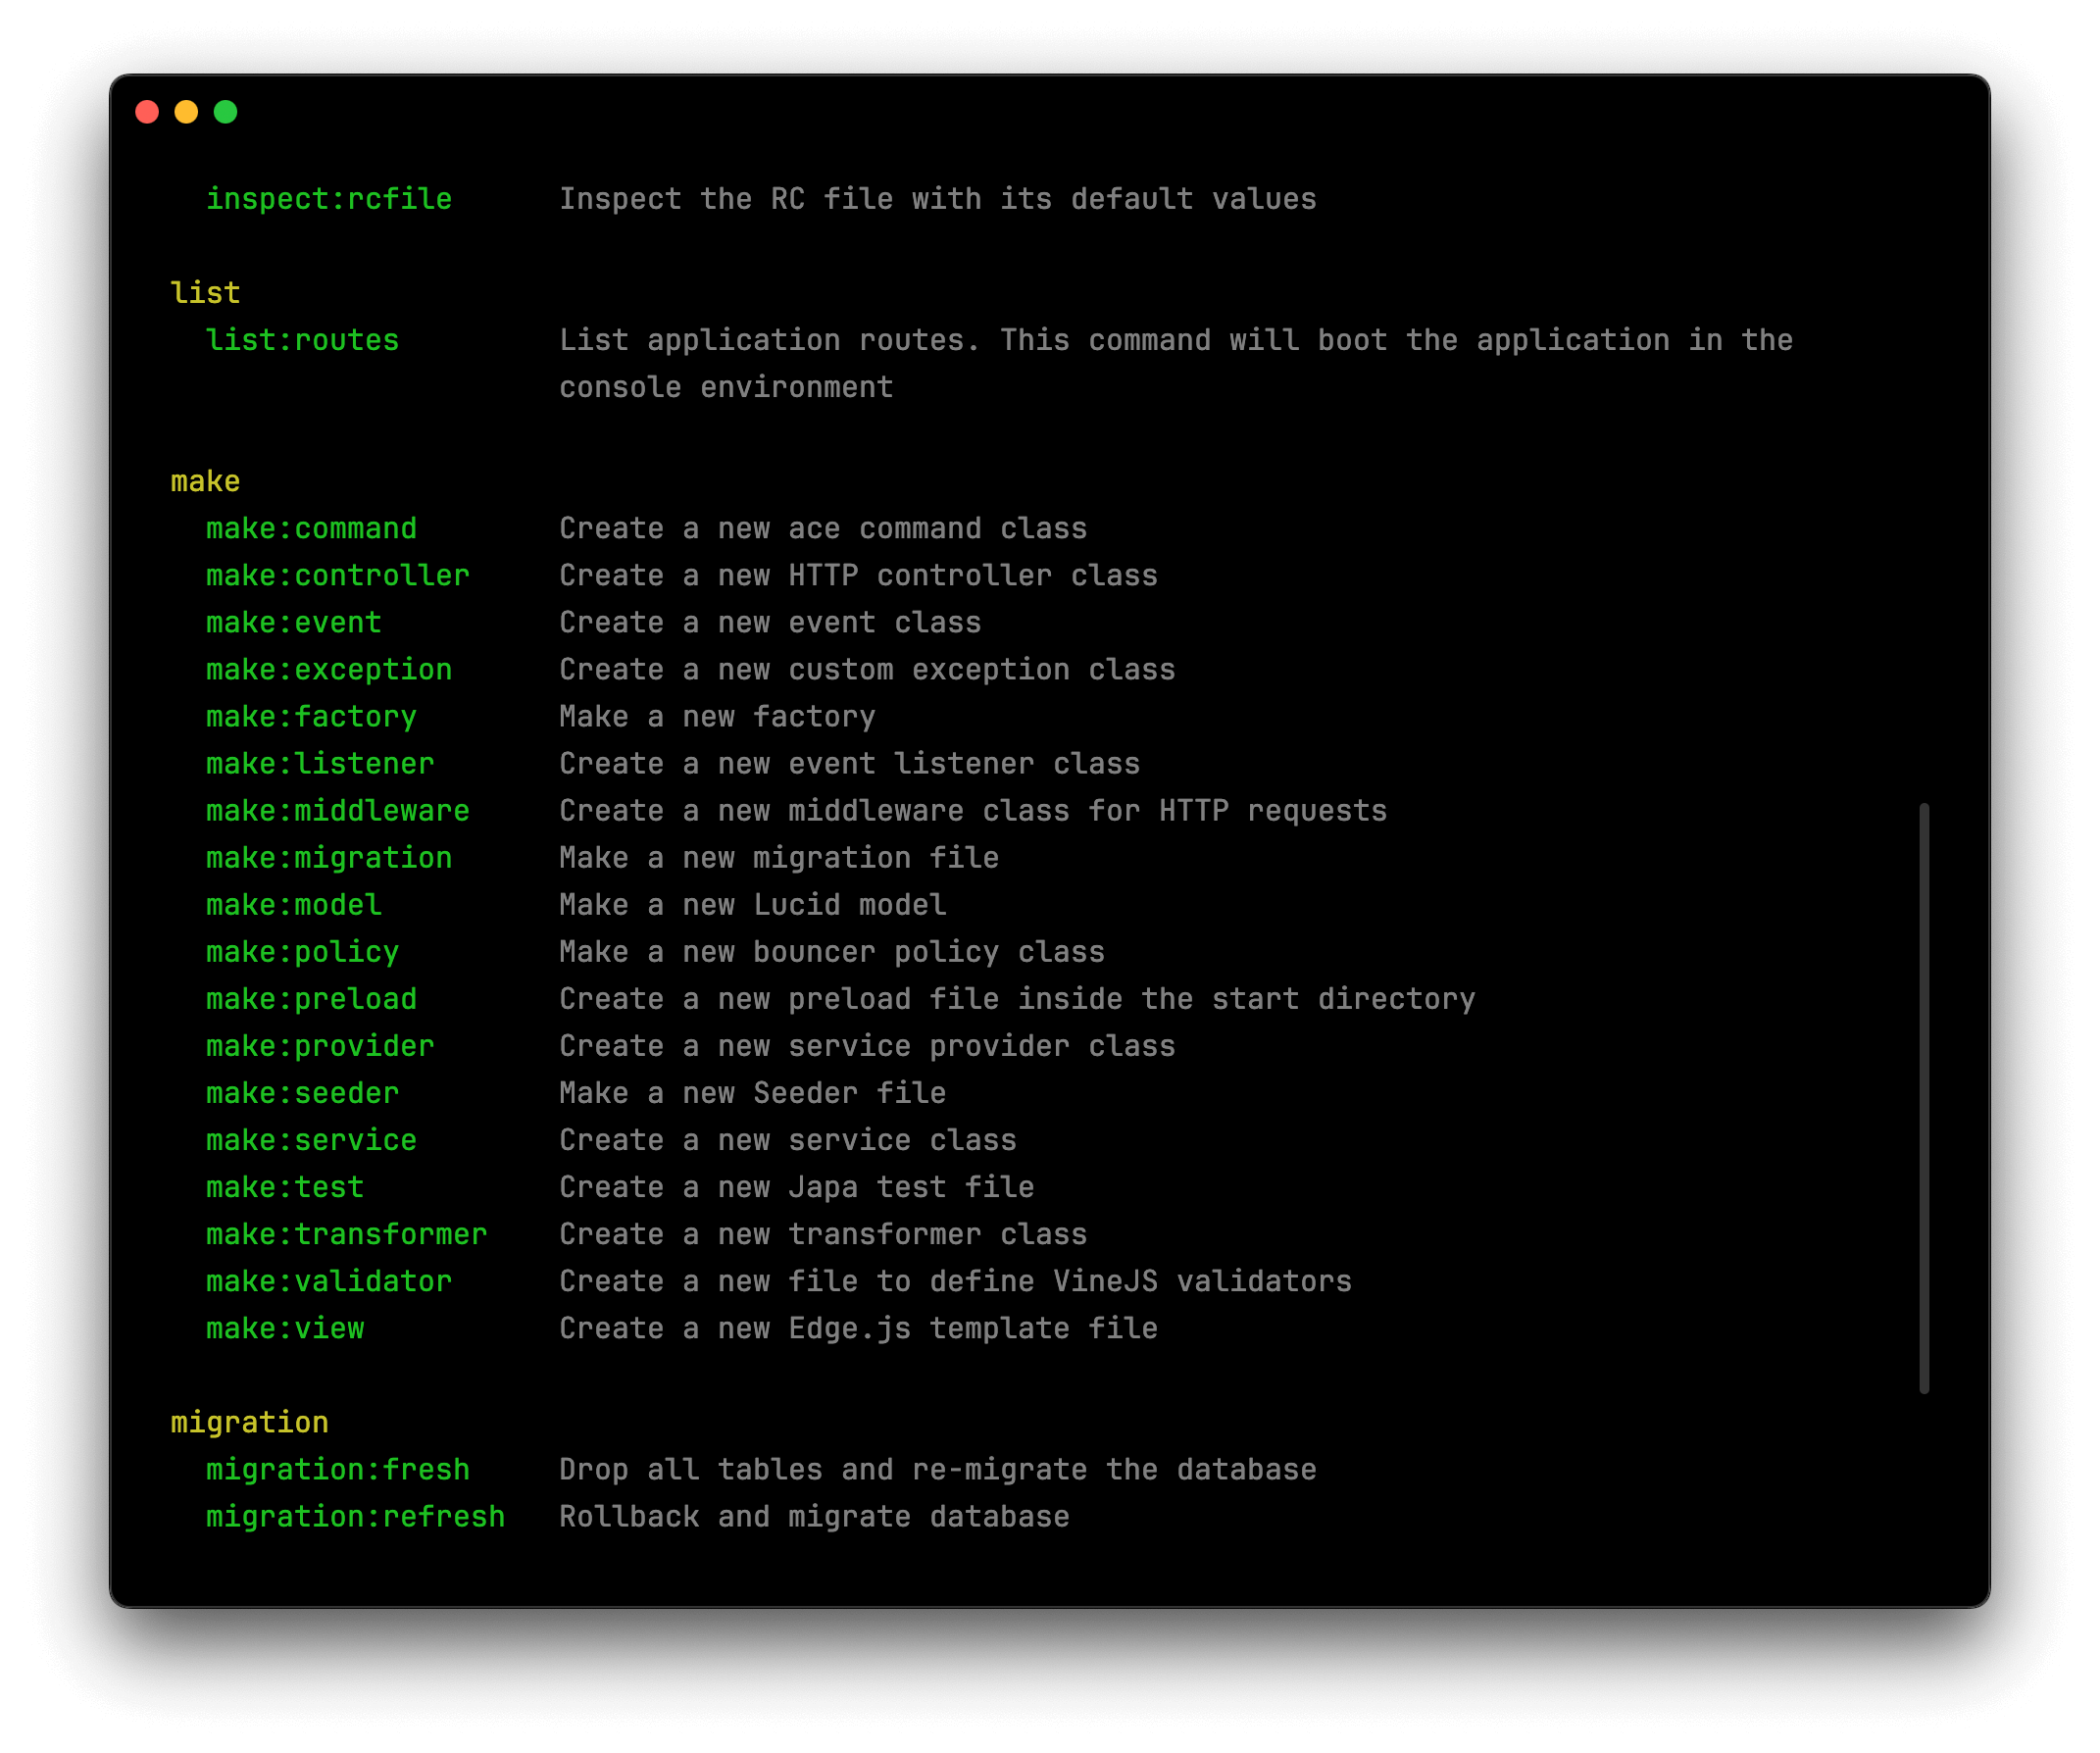
Notice how the commands are grouped together?
- The
make:*commands help you generate files. - The
migration:*commands help you run and revert database migrations. - The
db:*commands handle database seeding, and so on.
Want to know more about a specific command? Just add --help to the end. This shows you everything that command can do, including any options you can pass to it.
node ace make:controller --helpUsing the REPL
The REPL will be our experimentation playground throughout the tutorial. Let's explore how to use it by creating and querying users for our DevShow web-app.
Start the REPL and load models
First, start the REPL:
node ace replOnce the REPL starts, load all your models using the loadModels() helper. The REPL provides several built-in helper functions like this to make experimentation easier. This helper will make all your models available under the models namespace.
await loadModels()

// Access user model
models.user
Create users
Let's use the User model (stored within the app/models/user.ts file) to create a couple of users that we can use to log into our app later. The create method accepts the model properties as an object, persists them to the database and returns a model instance.
await models.user.create({ fullName: 'Harminder Virk', email: 'virk@adonisjs.com', password: 'secret' })Let's create another user.
await models.user.create({ fullName: 'Jane Doe', email: 'jane@example.com', password: 'secret' })Fetch all users
Now that you have created a couple of users, let's fetch them using the all method. This method will execute a SELECT * query and returns an array containing both users. Each user is a User model instance, not a plain JavaScript object.
await models.user.all()Find and delete a user
You can find a user with a given ID using the find method. The return value is an instance of the User model or null (if no user was found).
const user = await models.user.find(1)

user.id
// 1

user.email
// 'virk@adonisjs.com'
You can delete this user by simply calling the delete method on the User instance.
await user.delete()

user.$isDeleted // true
If you list all users again, you should see only Jane remains:
await models.user.all()Exit the REPL
When you're done exploring, type .exit or press Ctrl+D to leave the REPL and return to your terminal.